


Die Entwicklung von zwanzig bis fünfzig Kunststoffgehäusen stellt eine Zwischenstufe dar, in der der 3D-Druck pro Stück zu teuer wird und Hartwerkzeuge eine massive finanzielle Belastung darstellen. Die Nutzung professioneller Vakuumguss Dienstleistungen überbrückt diese Lücke, indem sie hochgetreue Duplikate aus flexiblen Silikonkavitäten zu einem Bruchteil der Standard-Werkzeugkosten herstellt. Die Beschaffung dieser Niederdruckgussformen ermöglicht es Produktgruppen, strukturelle, kosmetische und umweltbezogene Tests mit tatsächlichen produktionsreifen Chemikalien durchzuführen. Jedes Hardware-Startup muss die Kosten für physische Werkzeuge sorgfältig kalkulieren, um die Startbahn während kritischer Validierungszyklen zu erhalten.
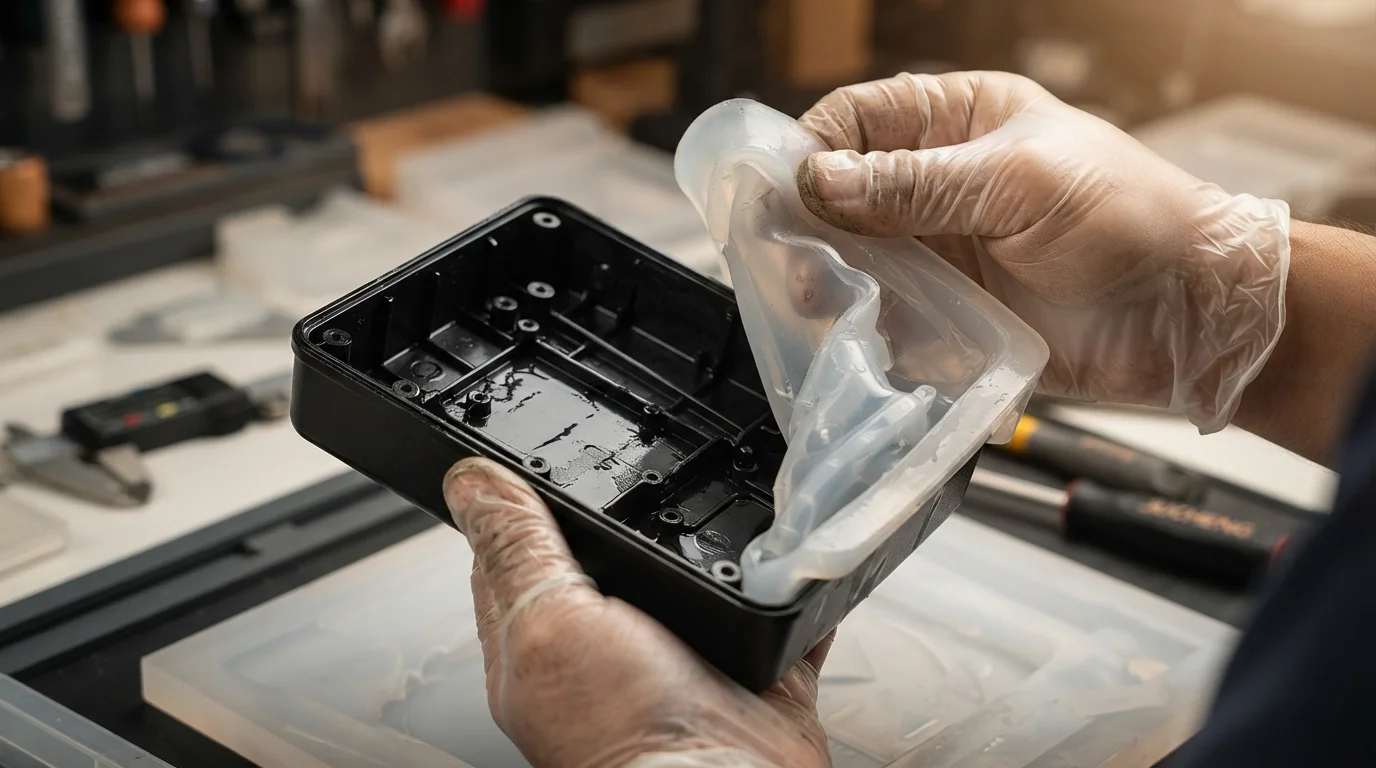
Die frühzeitige Einholung technischer Rückmeldungen hilft Designern, ihre Geometrien zu optimieren, um die Lebensdauer der Silikonformen zu verlängern und Polymerschrumpfungsfehler zu vermeiden. Das präzise Aufteilen von Master-CAD-Dateien ermöglicht es erfahrenen Werkzeugmachern, Trennlinien, Entformungsschrägen und Angussversätze manuell zu analysieren. Die Beschaffung Ihrer Kopien von einem Partner mit umfangreichen hausinternen Fähigkeiten stellt sicher, dass Sie ehrliche, kostensparende Ratschläge für Ihr spezifisches Hardware-Programm erhalten. Werfen wir einen Blick auf die tatsächliche Physik hinter Ihren Vakuumgusskosten und erkunden, wie Sie Ihr Entwicklungsbudget fest im Griff behalten können.
Inhaltsverzeichnis
1. Mastermodelle und Lebensdauer von Silikonwerkzeugen
2. Polyurethanharzauswahl und Aushärtungschemie
3. Angussplatzierungen, Trennlinien und kostensparende Designregeln
Mastermodelle und Lebensdauer von Silikonwerkzeugen
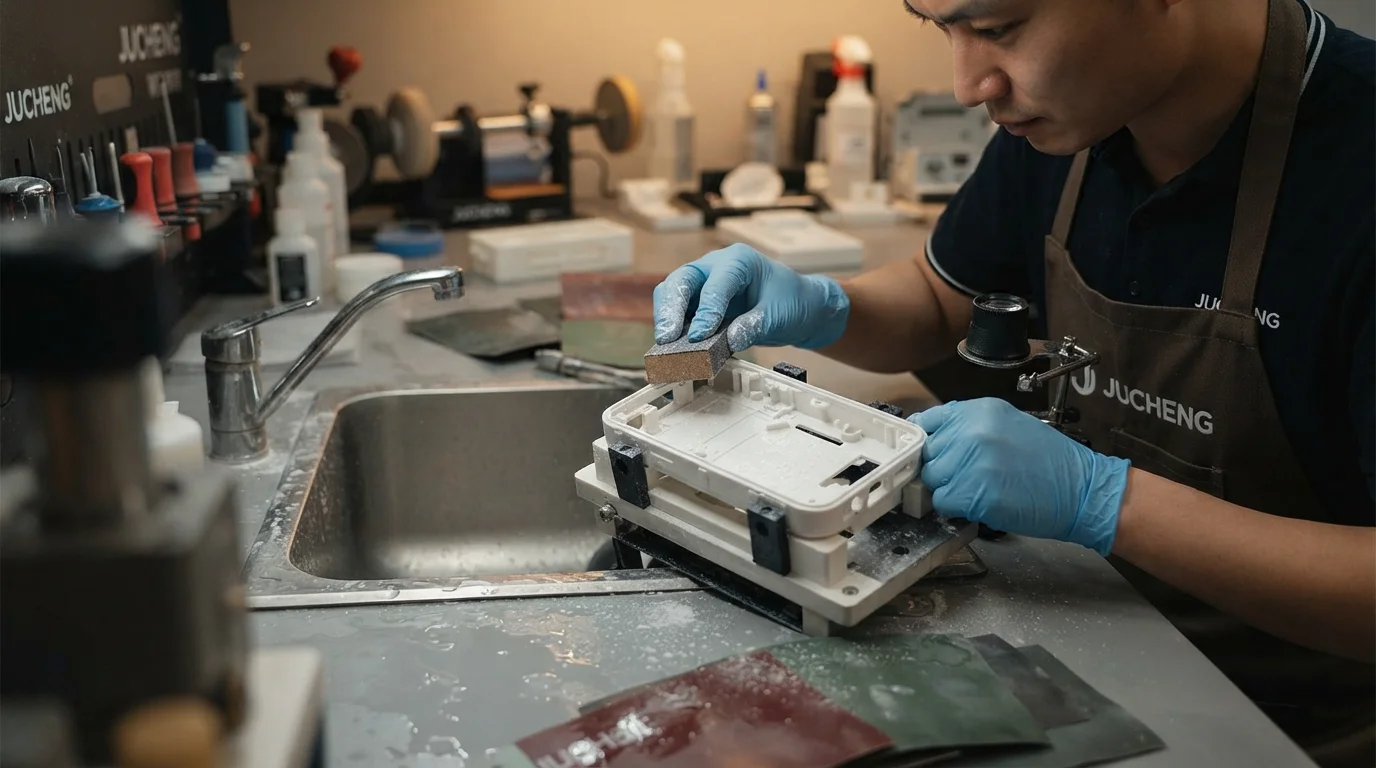
Frage: Was ist die primäre Vorabausgabe beim Vakuumguss? Die Beschaffung eines hochgetreuen SLA-Mastermodells stellt die primären Anschaffungskosten dar, die die Oberflächenqualität aller nachfolgenden Polyurethan-Duplikate bestimmt.
Die Herstellung einer Silikonkavität beginnt mit der Fertigung eines hochpräzisen Mastermodells, typischerweise mittels hochauflösendem SLA-3D-Druck. Erfahrene Techniker nassschleifen, polieren und grundieren das Mastermodell manuell, um Schichtlinien zu beseitigen, da der flüssige Gummi jedes mikroskopische Oberflächendetail exakt dupliziert. Die Beschaffung eines makellosen Mastermodells stellt eine feste Vorabgebühr dar, die direkt Ihre Gesamtkosten beeinflusst Vakuumgusskosten. Das Auftragen einer hochwertigen Oberflächenveredelungen auf das Mastermodell stellt sicher, dass die endgültigen Polyurethan-Gussteile glänzende, matte oder strukturierte Oberflächengefühle perfekt reproduzieren.
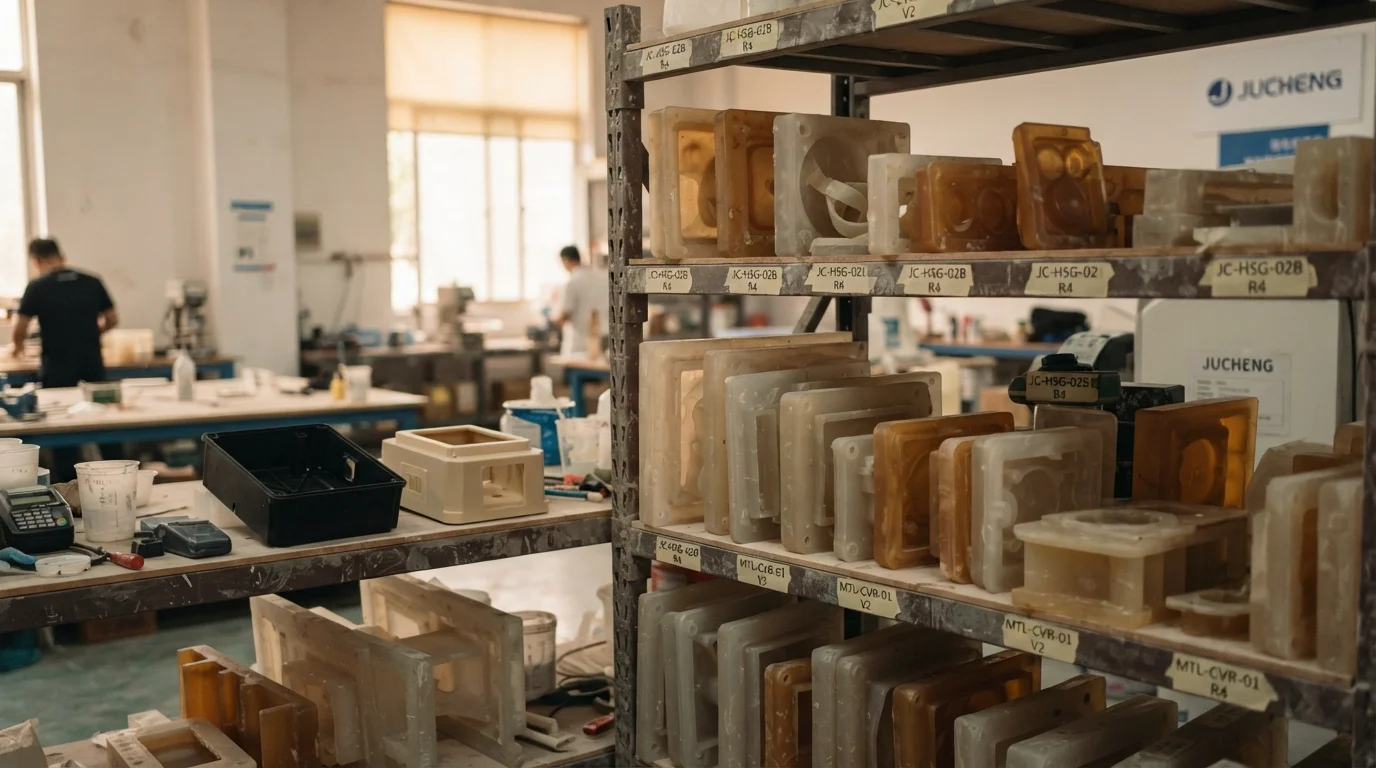
Sobald das Mastermodell vorbereitet ist, hängen die Formenbauer es in eine maßgefertigte Box und gießen unter Vakuum flüssigen RTV-Silikonkautschuk darum. Das Aushärten des Silikons dauert mehrere Stunden, danach teilt der Techniker die Form manuell mit einem chirurgischen Skalpell, um das Mastermodell zu entnehmen. Die flexible Elastizität des flüssigen Gummis ermöglicht es der Form, komplexe Hinterschneidungen und null Entformungsschrägen zu erfassen, ohne teure mechanische Schieber zu benötigen. Das wiederholte Ziehen von rohem Polyurethan gegen null Entformungsschräge Gummiwände erzeugt jedoch hohe Reibung, die die empfindlichen Silikondetails innerhalb von zehn bis zwanzig Zyklen zerreißt.
Polyurethanharzauswahl und Aushärtungschemie
Frage: Wie beeinflussen Polyurethan-Materialauswahlen die Vakuumgusskosten? Spezialisierte Harze, die biokompatibles Polycarbonat oder hochschlagfestes ABS nachahmen, haben höhere Premiumkosten als Standard-Allzweckpolymere.
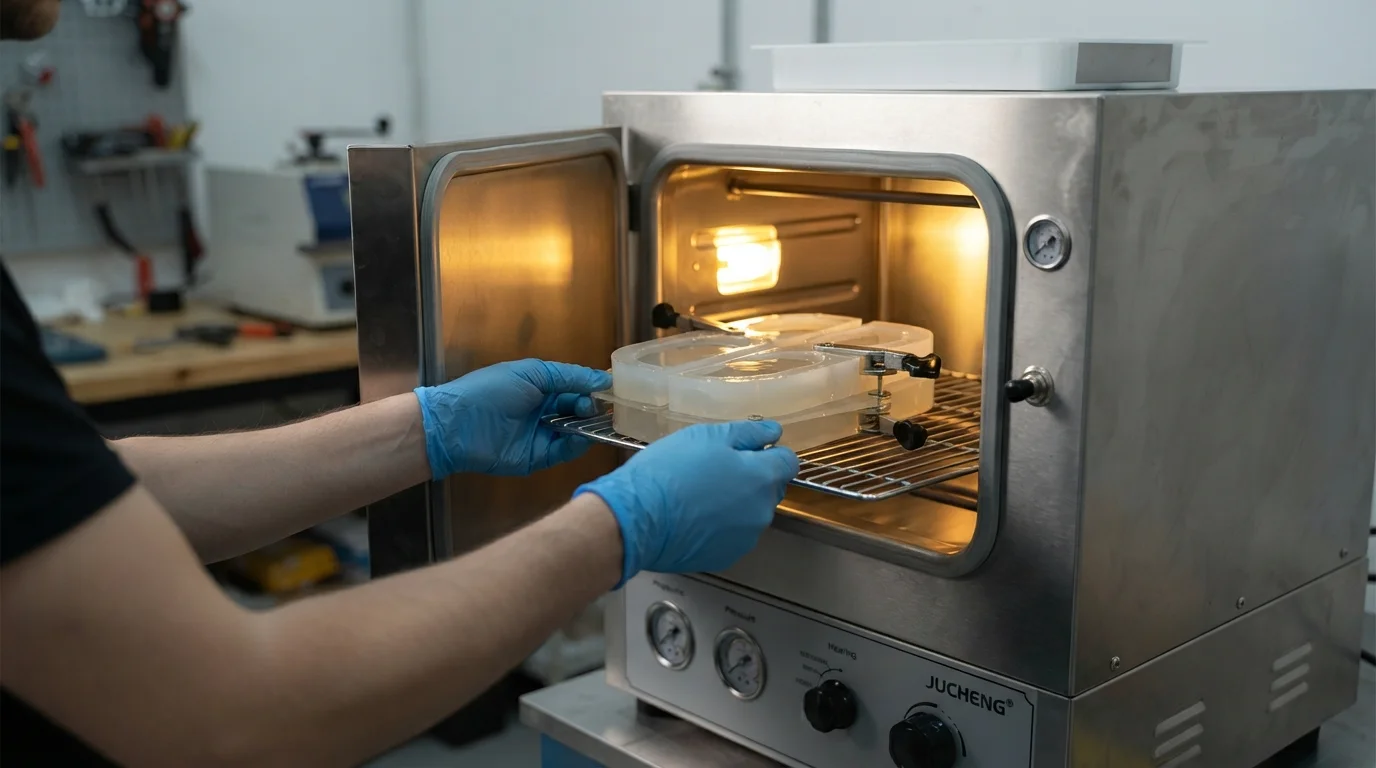
Die Auswahl des richtigen Polymerchemismus balanciert mechanische Leistung mit allgemeiner chemischer Beständigkeit und kosmetischen Oberflächenoberflächen aus. Beschaffung professioneller Polyurethan-Gießharze ermöglicht es Ingenieuren, die physikalischen Eigenschaften von Produktionsthermoplasten sauber zu duplizieren. Formulierungen können hochschlagfeste ABS, starre Polycarbonat, oder flexible Elastomere bis zu spezifischen Shore-Härtebereichen nachahmen. Die Beschaffung dieser spezialisierten Polymere stellt sicher, dass Ihr Prototyp sich bei Fallfestigkeits- und thermischen Validierungstests genau wie ein spritzgegossenes Produktionsteil verhält.
Polyurethanharze durchlaufen während des Aushärtens eine exotherme chemische Reaktion, die lokale Wärme erzeugt und dazu führt, dass das Polymer beim Erstarren leicht schrumpft. Massive, schwere Merkmale wie dicke Montagebosse oder schwere Verstärkungsrippen kühlen viel langsamer ab als benachbarte dünne Wände, was innere Vakuumspannungen erzeugt. Die Dimensionierung der Rippendicke auf 60 Prozent der Nennwand verhindert, dass Schrumpfspannungen kosmetische Einfallstellen auf Sichtflächen verursachen. Diese technische Tabelle beschreibt Standardkostenverhalten über grundlegende Rapid-Prototyping-Prozesse:
| Prototyping-Technologie | Werkzeuginvestition | Materialkosten pro Teil | Beste Strukturmenge |
|---|---|---|---|
| SLA 3D-Druck | Keine Werkzeug-CapEx | Mittel-Hoch (Flüssigharz) | 1 bis 5 Einheiten (komplexe Formen) |
| Vakuumguss | Niedrig ($200 – $500 pro Form) | Mittel (Polyurethan) | 10 bis 50 Einheiten (Kleinserie) |
| CNC-Bearbeitung | Mittel (Manueller Einrichtungsaufwand) | Niedrig (Massive Metall- oder Kunststoffblöcke) | 5 bis 20 Einheiten (hochfeste Teile) |
Angussplatzierungen, Trennlinien und kostensparende Konstruktionsregeln
Frage: Wie können Designentscheidungen beim Vakuumguss die Gesamtprojektkosten senken? Das Platzieren der manuellen Trennlinie entlang natürlicher geometrischer Kanten eliminiert komplexe Nachbearbeitungsstunden nach dem Entformen.
Silicone mold split lines are cut manually, leaving a thin seam of plastic flash where the mold halves meet during pouring. Trimming this flash manually requires skilled hand labor, which increases finishing hours and overall project expenditures. Positioning parting lines along natural sharp corners or non-cosmetic back edges prevents manual sanding from scratching premium visual show faces. Sourcing early design-for-manufacturability (DFM) reviews helps you plan parting lines strategically before pouring liquid silicone.
Auch Angüsse und Entlüftungen müssen sorgfältig platziert werden, um kosmetische Schäden an kritischen Außenflächen zu vermeiden. Flüssiges Polyurethan tritt durch diese Angüsse in die Form ein, die nach dem Aushärten des Teils manuell abgeschnitten und bündig geschliffen werden müssen. Die Beschaffung Ihrer Prototypen von einem schlüsselfertigen Hersteller stellt sicher, dass erfahrene Formenbauer intelligente Angussplatzierungen vorschlagen, die die manuelle Nacharbeit minimieren. Die Befolgung bewährter Richtlinien stellt sicher, dass Ihre Kleinserienteile wie hochwertige Komponenten aussehen und funktionieren, ohne hohe Werkzeugkosten zu verursachen. Spritzgießen Komponenten ohne hohe Werkzeugkosten zu zahlen.
Jucheng Precision unterstützt mechatronische Gruppen, indem es hochoptimierte, kostensparende Gussoptionen liefert, die sich an enge Budgets anpassen. Die Inanspruchnahme unserer fachkundigen DFM-Reviews hilft Produktgruppen, Angussplatzierungen, Trennlinien und Entformungsschrägen vor dem Gießen von Silikon zu optimieren. Wir verwenden Flüssigsilikonkautschuk wenn Projekte hochflexible, hypoallergene Elastomerkomponenten mit extremer Haltbarkeit erfordern. Die Beschaffung hochwertiger Vakuumgussteile innerhalb von 5 bis 10 Tagen ermöglicht es Ihnen, umfangreiche Feldvalidierungstests mit absoluter Sicherheit durchzuführen.
Die Partnerschaft mit einem zertifizierten Hersteller minimiert Skalierungsrisiken beim Übergang von Kleinserienprototypen zur Massenproduktion. Die manuelle Einholung Ihrer Angebote stellt sicher, dass erfahrene Ingenieure Ihre 3D-STEP-Dateien analysieren, um zusätzliche Möglichkeiten zur Senkung Ihrer Gesamtkosten zu finden. Kosten für Rapid Prototyping. Funktionskomponenten durchlaufen strenge Koordinatenmessungen, um die genaue Maßhaltigkeit zu bestätigen. Die Beschaffung hochwertiger Prototypen stellt sicher, dass Ihre Konstruktionen starken dynamischen Kräften sicher standhalten.
Häufig gestellte Fragen (FAQ)
Wie viele Teile können aus einer einzelnen Silikonform entnommen werden, bevor sie versagt?
Die meisten Silikonformen liefern zwanzig bis dreißig saubere Abformungen, bevor der Kautschuk spröde wird und zu reißen beginnt. Das Konstruieren von Teilen mit sanften Entformungsschrägen und großzügigen Verrundungen hilft, die Kavitätswände zu erhalten und die Formlebensdauer auf bis zu vierzig Abformungen zu verlängern.
Warum ist Polymerschrumpf ein großes Problem bei der Silikonformkonstruktion?
Das Ignorieren des Polyurethanschwunds bei der Bearbeitung des Mastermodells ist der häufigste Designfehler. Formenbauer müssen die CAD-Datei des Mastermodells um etwa 0,2 Prozent skalieren, um die natürliche Polymerkontraktion während des Aushärtens auszugleichen und so Ihre Gesamtkosten für den Vakuumguss zu schützen.
Kann man mit Vakuumguss weiches Elastomer auf harten Kunststoff umspritzen?
Polyurethan-Umspritzung ist hochwirksam und ermöglicht es Ihnen, weich-elastischen Kautschuk direkt auf starre Kunststoffkerne zu gießen. Konstrukteure spezifizieren mechanische Hinterschneidungen, um eine dauerhafte, physikalische Verbindung zwischen beiden Materialien zu gewährleisten.

